
Lab & Tips
Practical knowledge about cutting, tube-end expanding and the decisions that shape production performance.
What does each cut really cost?
Model blade, labour, machine and energy costs with your own production data. Turn estimates into a useful cost-per-cut.
Open cutting cost calculatorIdeas built on the workshop floor
A growing collection about bandsaw cutting, tube-end expanding, machine care and production economics.
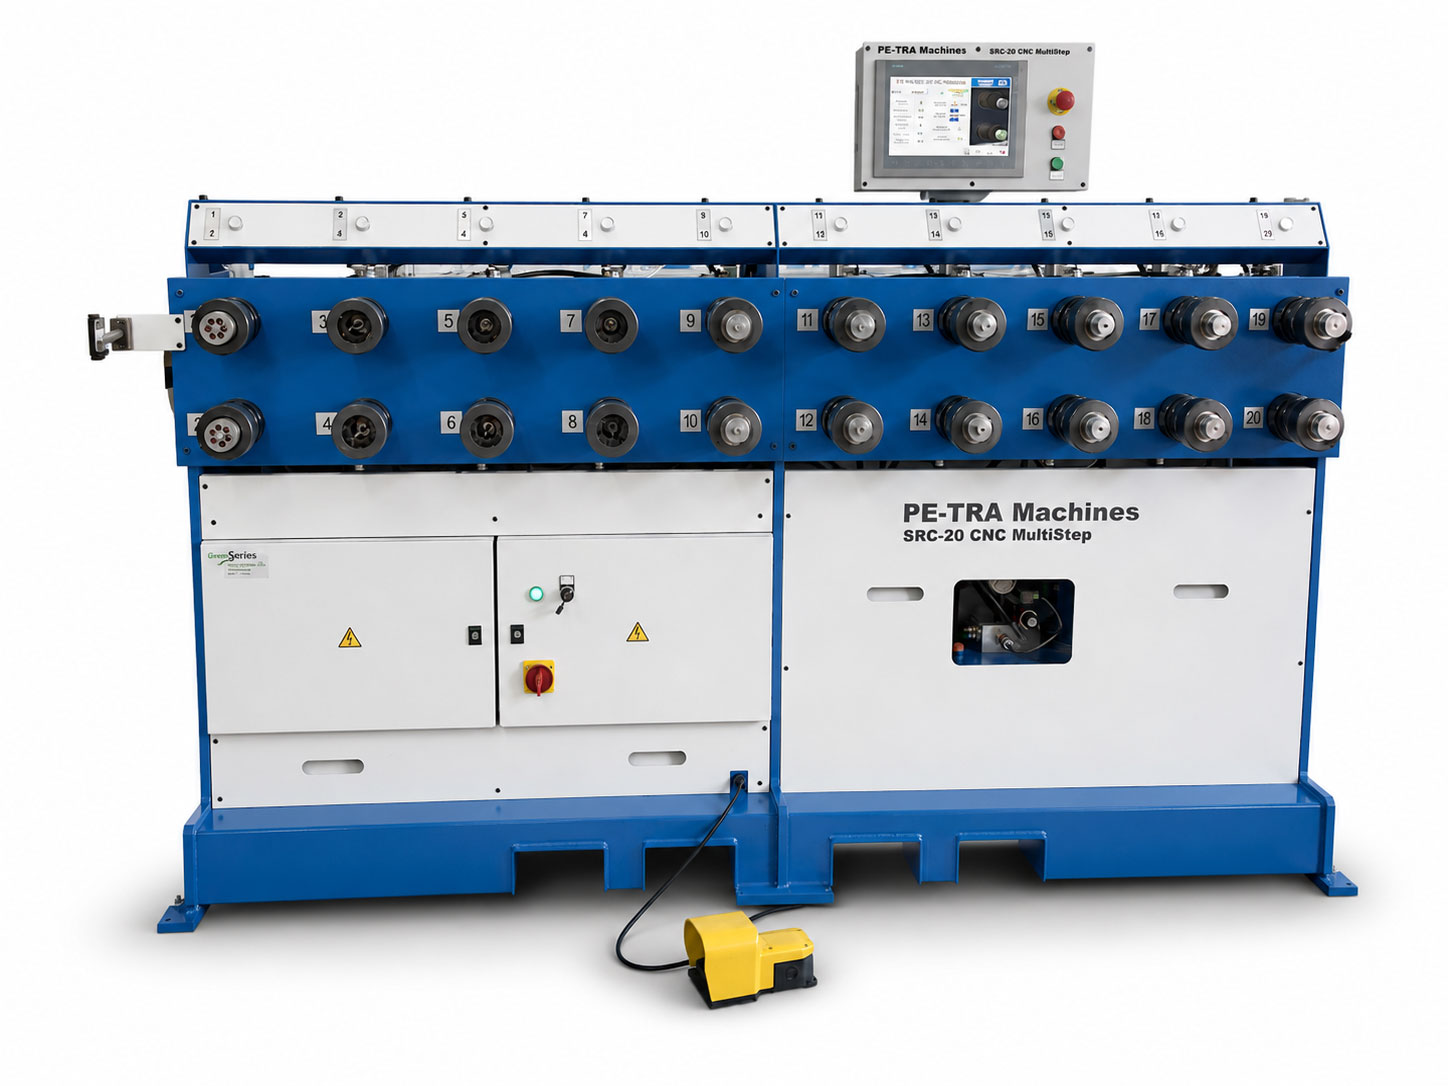
What happens during tube-end expansion?
Tube expanding · 5 min read
An internal tool forms the end of a tube to a controlled diameter and shape. Multi-station machines build the result through repeatable steps.
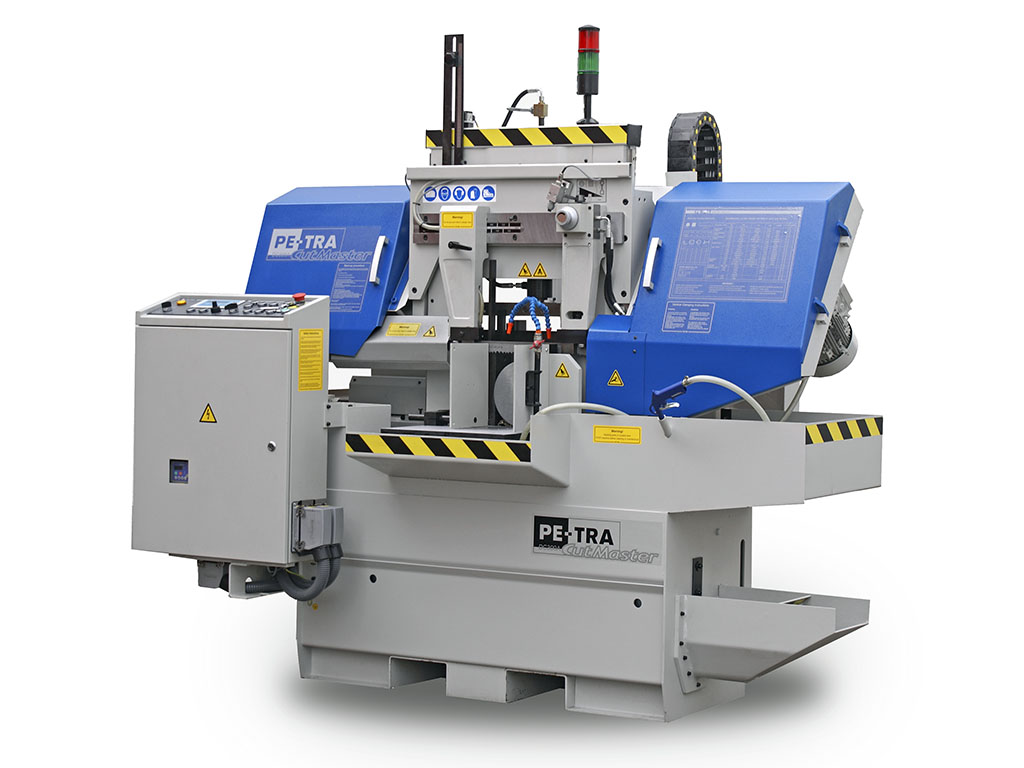
What is chip load?
Band sawing · 4 min read
Why each tooth needs to form a proper chip, and what powdery, heavy or discoloured chips tell you about the cut.
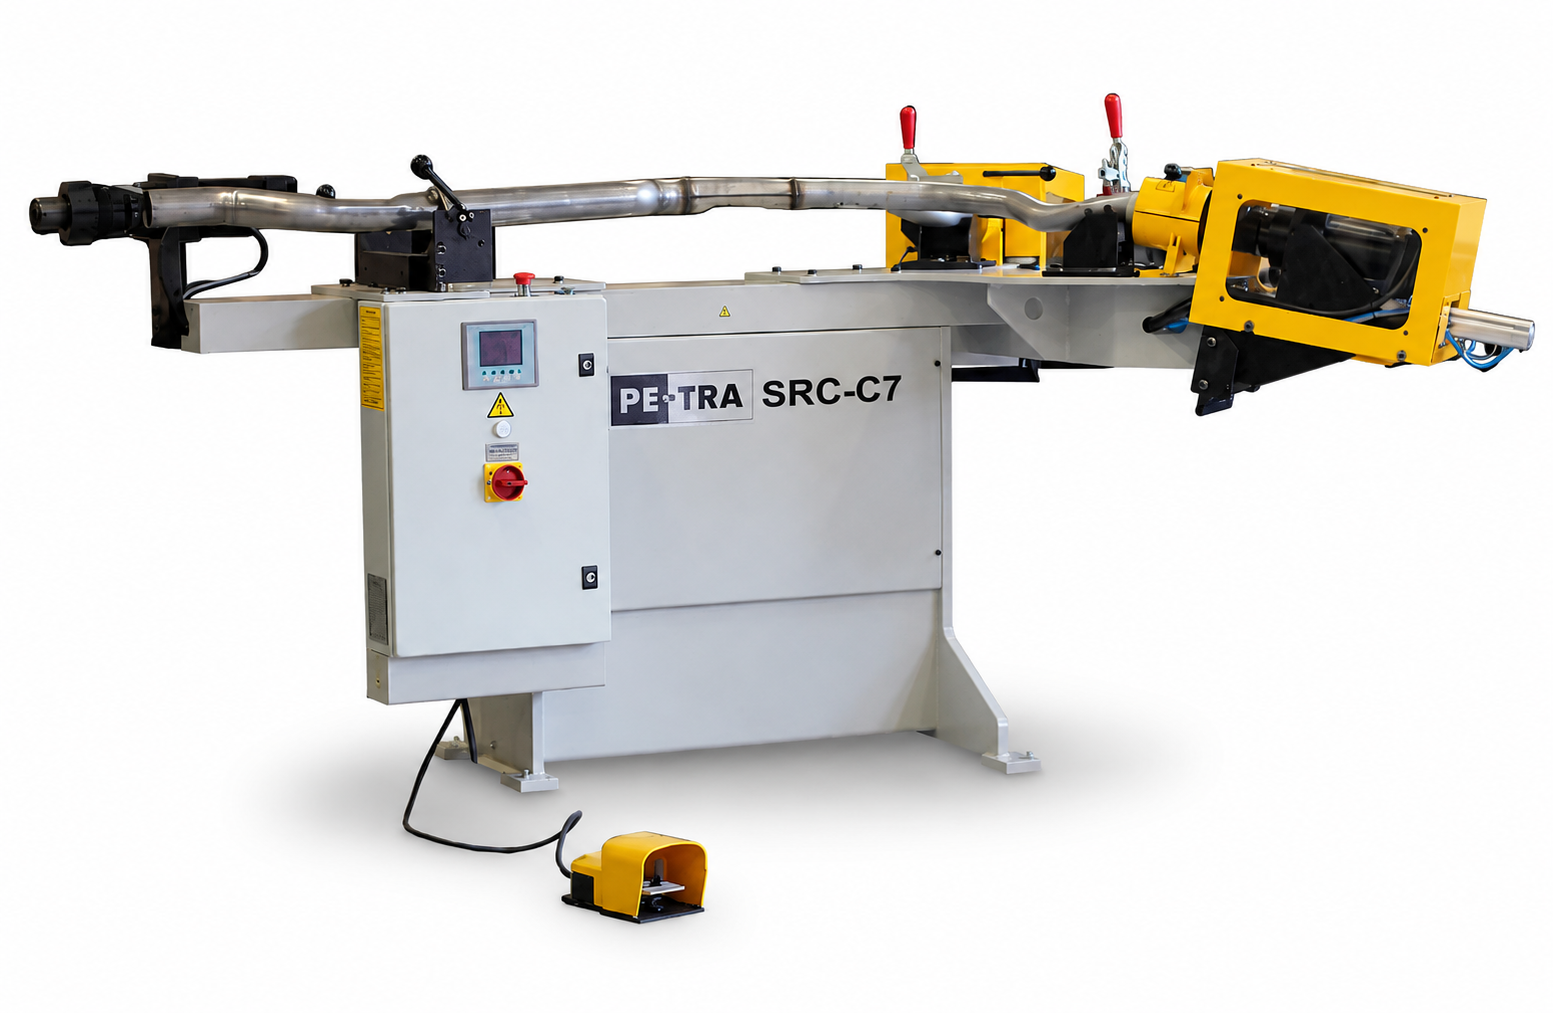
Why multi-step tube expansion improves repeatability
Tube expanding · 5 min read
How controlled stroke positions, stored programs and dedicated stations simplify complex forming sequences.
How to choose a good bandsaw
Machine selection · 6 min read
Start with materials, dimensions and batch sizes, then compare rigidity, clamping, chip removal and service access.
How maintenance affects production
Maintenance · 4 min read
Blade guides, coolant flow, chip brushes and clamping quietly shape cut time, blade life and unplanned downtime.
Why the bandsaw is vital to production
Production economy · 5 min read
The first cut determines when downstream work starts, how much allowance it receives and whether the schedule holds.
Read the full articles
What happens during tube-end expansion? · 5 min read
Tube-end expansion changes the diameter or shape of a tube by pushing a controlled forming tool into its end. The material is not removed; it flows. That makes the relationship between tool geometry, tube wall, material condition and lubrication especially important. A stable process starts with a tube that is cut square, deburred and positioned consistently against a reliable stop.
During the first forming stage the tool centres the tube and begins to move the wall outward. Later stages can increase the diameter, calibrate the final dimension, form a bead or prepare a connection profile. Dividing a large change into several smaller steps reduces local strain and gives the material time to distribute more evenly. It also lowers the risk of splits, heavy thinning and an irregular mouth.
What should be controlled?
- Starting outside diameter, wall thickness and material batch.
- Tool position, forming stroke and repeatable tube support.
- Lubrication at the contact area and cleanliness of the tooling.
- Final diameter, roundness, length and wall condition.
A good expansion is not judged only by one diameter. The transition area should be smooth, the tube axis should remain stable and the formed end should match the next manufacturing step. For demanding parts, trial pieces should be sectioned and measured before the production program is released. Once the stages are proven, stored machine recipes help operators repeat the same result with much less adjustment.
What is chip load? · 4 min read
Chip load describes how much material each saw tooth removes while it is engaged in the cut. It is influenced by downfeed, blade speed, tooth pitch, workpiece geometry and the number of teeth cutting at the same time. When chip load is correct, each tooth forms a compact chip and carries heat away from the cutting zone.
Powdery chips usually mean the teeth are rubbing instead of cutting. This can come from feed that is too light, blade speed that is too high or a pitch that puts too many teeth in contact. Thick, hot or blue chips can indicate excessive feed, insufficient coolant or a tooth pitch that is too coarse. The aim is not simply to push faster, but to create a stable chip without overloading the tooth edge.
Use the chips as process feedback
- Fine powder: increase feed carefully or reduce blade speed.
- Heavy curled chips: check feed force, tooth pitch and machine rigidity.
- Discoloured chips: improve coolant delivery and check blade speed.
- Irregular chip shape: inspect clamping, guides and tooth condition.
Adjust one variable at a time and observe several cuts before deciding. A new blade also needs a controlled break-in period because the fresh tooth tips are sharp and more vulnerable to micro-chipping. Chip load is therefore a practical bridge between theoretical cutting data and what the operator can see at the machine.
Why multi-step tube expansion improves repeatability · 5 min read
A complex expanded tube end is rarely best produced in one aggressive stroke. When the full deformation is attempted at once, strain concentrates in a small area and small differences in wall thickness can become large differences in the finished part. Multi-step forming spreads the work between dedicated tools and controlled positions.
The first station may centre and pre-form the tube. Intermediate stations gradually increase the diameter or establish the transition shape. A final calibration station then controls the critical dimensions. Because each tool has one clear task, tool wear is easier to diagnose and corrections can be made without disturbing the complete process.
Why stored positions matter
Digital control allows the forming stroke, return position and sequence to be stored as a recipe. Operators can call up a proven program instead of rebuilding settings after every product change. This is particularly useful when production includes many references, short batches or parts that return after several months.
- Lower peak forming force and reduced risk of cracking.
- More even wall distribution through the transition area.
- Clearer quality checks at each station.
- Faster changeovers with stored programs and marked tooling.
Repeatability still depends on correct tube preparation and support. A crooked cut, burr or inconsistent insertion length will follow the part through every station. The best multi-step process combines controlled machine movement with simple gauges and a clear inspection plan.
How to choose a good bandsaw · 6 min read
The right bandsaw is selected from the work, not from one maximum-capacity number. Begin with the materials, cross-sections, lengths and batch sizes that represent normal production. A machine that can physically fit the largest part may still be inefficient if most daily work consists of smaller repetitive cuts.
Rigidity is fundamental. The saw frame, blade guides, vices and material support must keep the blade in a predictable path. Good clamping should hold the work close to the cutting line without damaging thin-wall profiles. For bundles or difficult shapes, vertical clamping and adjustable pressure can improve stability.
Compare the complete production cycle
- Cutting capacity for round, rectangular and bundle work.
- Blade size, guide arrangement and available blade speeds.
- Automatic feeding accuracy and usable remnant length.
- Coolant delivery, chip brush and chip-conveyor access.
- Program storage, diagnostics and operator visibility.
- Blade change, cleaning and routine service access.
Automation should match the batch size. A semi-automatic machine can be ideal for varied workshop work, while a fully automatic saw brings its value through repeatable feeding and unattended cycles. For high-value material, kerf width, remnant handling and cut accuracy can matter more than headline cutting speed.
Finally, compare support and spare-part availability. A productive machine must be understandable to operators and maintainable by the people who own it. Test cuts with representative material are the best way to confirm cycle time, surface finish, blade behaviour and handling before a final decision.
How maintenance affects production · 4 min read
Bandsaw maintenance is production work because small mechanical changes quickly become cutting problems. Worn blade guides allow the blade to twist, poor coolant flow raises tooth temperature and a weak chip brush carries chips back into the cut. Each issue can reduce blade life before it creates an obvious machine alarm.
A short daily inspection is usually more effective than waiting for a large service. Operators should check coolant level and direction, chip-brush contact, blade condition, guide cleanliness and clamping surfaces. Chips trapped under the material can change cut angle and feeding length, especially on repetitive work.
A practical maintenance rhythm
- Daily: clean chips, inspect the blade and confirm coolant delivery.
- Weekly: check guides, brush position, vice movement and fluid leaks.
- Monthly: inspect band-wheel areas, lubrication points and feed accuracy.
- Planned service: verify hydraulic, electrical and safety functions.
Maintenance records should connect work performed with blade life, cut deviation and downtime. This turns maintenance from a checklist into useful process information. When operators record the first sign of a problem, technicians can correct it before the machine produces scrap or stops during an urgent job.
Why the bandsaw is vital to production · 5 min read
The bandsaw is often the first production machine to touch purchased material. Its output controls when machining, welding or assembly can begin. If sawing falls behind, expensive downstream equipment waits. If lengths or angles are inconsistent, every following operation inherits the problem.
Good sawing balances cycle time with material use and process stability. A narrow kerf can save significant material across a large batch, while accurate feeding reduces the allowance required for later machining. Remnant length, facing cuts and bundle strategy should therefore be included when the true cost per piece is calculated.
Measure more than cutting time
- Total cycle time, including feeding, clamping and material changes.
- Pieces and cut surface produced per blade.
- Operator time and number of machines supervised.
- Remnants, kerf loss and reusable material.
- Downtime caused by setup, cleaning or unplanned maintenance.
A faster pure cut does not always create the lowest production cost. Stable blade life, predictable handling and a smaller amount of scrap may be more valuable than a few seconds saved. This is why cutting data should be reviewed together with the complete flow of material through the factory.
When the saw is treated as a controlled production process, schedules become more reliable and downstream work receives consistent blanks. The result is less firefighting, easier planning and a clearer understanding of where improvements will have the greatest effect.
Have a difficult production problem?
Talk to the people who design, build and test the machines.